Installing a Virtual Panel on a Windows PC
This is a brief overview of how to install the Trilogy Virtual SIP Panel on a Windows PC
Instructions:
The Trilogy Mobile App software is included as part of the ‘TrilogyV5Setup.exe’ installation file
supplied on the CD with the equipment. Before commencing, check that the CD installer version
matches the current version of software reported in the Gateway Editor > Help About dialogue as
the software may have been updated since the original installation. If the versions are different,
contact Trilogy Support and we will supply a link to download the matching installer version.
Each active Mobile App connection will use a SIP IP phone connection audio DSP channel; the
Gemini has a total of 32 or 64 DSP channels, depending on the module installed. A number of DSP
must be allocated for the Mobile App, depending on the simultaneous connections expected. If for
example you allocate 2 DSP channels for IP phone connections, this will allow a maximum total of 2
simultaneously connected Mobile Apps to this Gemini host.
Step 1 – Installing the Virtual Panel key code
The Mobile App is a key coded option, so first enter the new key code for the Virtual Panels in
Gateway Editor > Setup > Enter Software Keys. If you do not have a key but wish to purchase one
please contact Trilogy Sales.
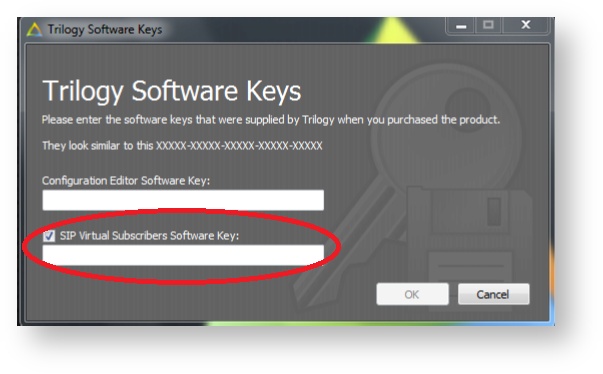
Once the Virtual panel key code has been entered, click ‘OK’ the Editor will now need to be restarted to apply the update.
Step 2 – Adding the Virtual panel in the Gateway Editor.
Now launch the Gateway Configuration Editor:
Each Virtual Panel will require a SIP connection. In the Enterprise Advanced Editor > SIP Connections page add the number of connections required (and allowed by the license).

Next add the Mobile App Virtual Panels in the Host Advanced Editor > Virtual Ports page. Set the ‘Type’ to ‘Virtual Panel’ and add the 5-character name for each.
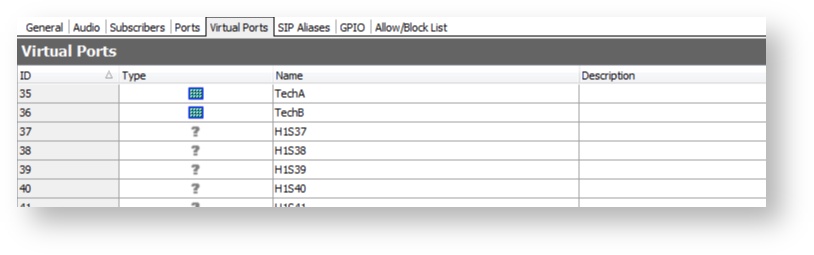
Once the virtual ports are assigned, a Virtual Panel entry will appear in the host tree view, select the virtual panel in the tree view to assign keys to the Virtual panel.

Next open the Host Advanced Editor > SIP Aliases tab.
- Add a SIP alias for each Mobile App (Vpan).
- Under ‘Preferred Codecs’, set Profile 1 to Codec 4 and Profile 2 to Codec 5.
- In the ‘SIP virtual Subscriber’ entry add the virtual port you wish to tie to this SIP aliases.

Also, in the Host Advanced Editor, select the ‘Audio’ tab.
- Increment the ‘IP Phones Allocated’ number to match the number of SIP connections required.
- Change the audio profile to 4 to match the preferred profile that was set in the Host Advanced Editor for "Preferred Codec" > SIP Aliases page.

Step 3 – Installing the Virtual Panel on a Windows PC
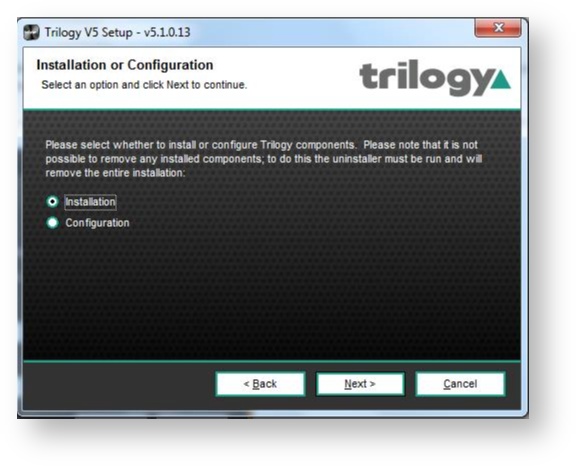
Run the ‘TrilogyV5Setup.exe’ installation file on the PC that will be using the Virtual Panel.
On the “Installation or Configuration” screen choose the ‘Installation’ option.
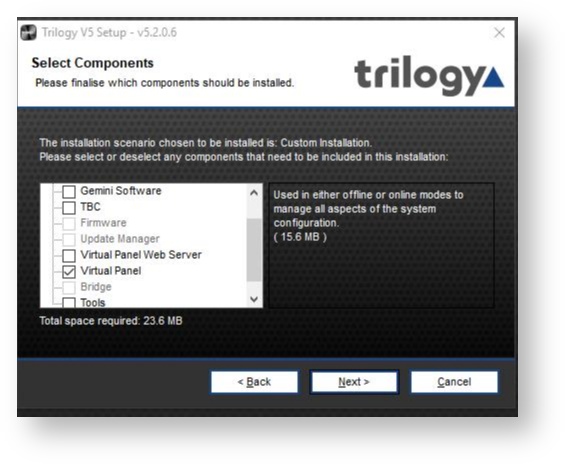
On the selected components screen, check the ‘Virtual Panel’ option. Click next.
Set the Domain and Host ID to match the address number of the Mercury Interface Unite or Gemini host running the Virtual panel. Click next.

Set the subscriber address of the Virtual panel. Click next

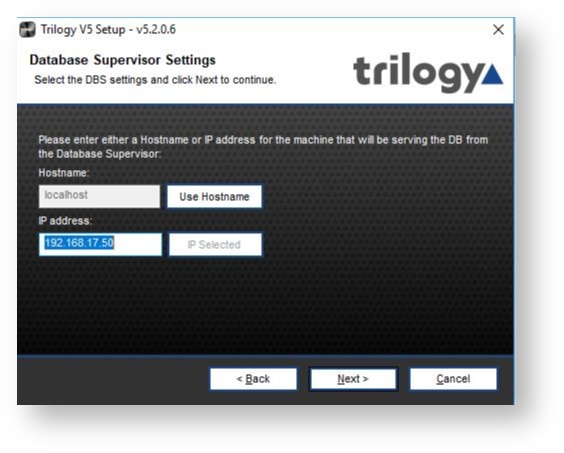
Enter the IP address of the PC hosting the Database Supervisor. In this example it is 192.168.17.50. Click next
Click next through the remaining options.
Once the installation is complete, ensure the PC hosting the "Database Supervisor" and the PC hosting the Trilogy Virtual panel are connected and visible to each other over the network.
Launch the Virtual Panel application installed in the Trilogy folder
Step 4 – Configuring the Virtual Panel

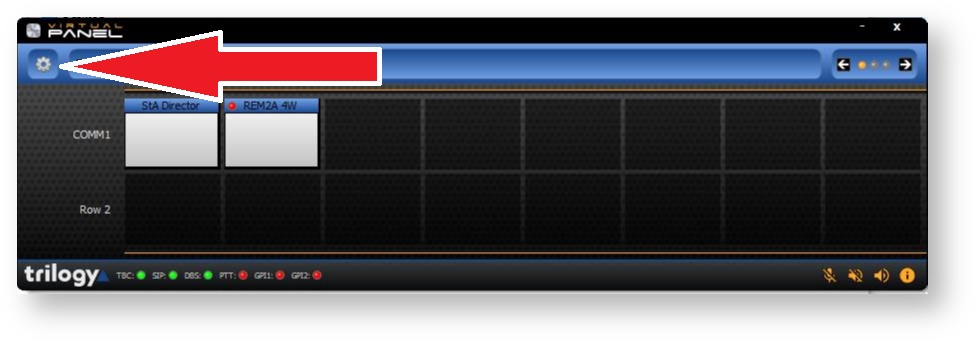
The following indicators at the bottom edge of the Virtual Panel should be green.
- TBC – Virtual Panel has connected to the Gemini TBC firmware, if this is red, check the PC hosting the Virtual Panel can see the Gemini on the network.
- SIP – The SIP audio connection has been established.
- DBS – The virtual panel has connected to the Database Supervisor application. If this is red, check the PC hosting the Virtual Panel can see the PC hosting the Database Supervisor.
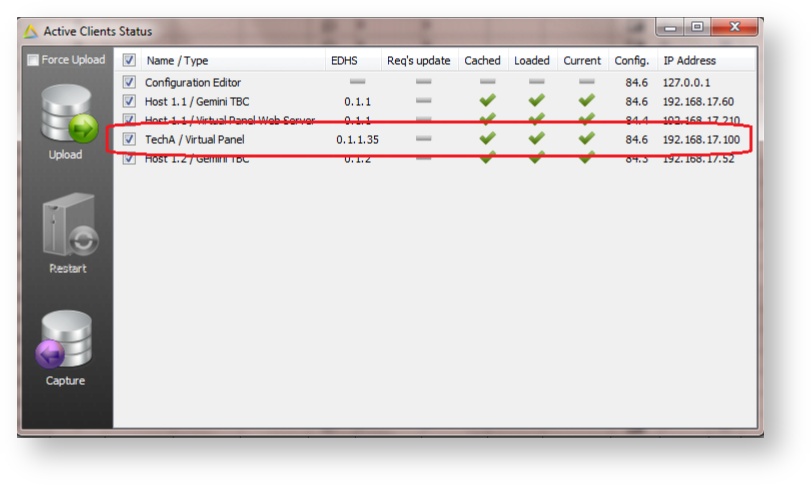
Once this is established the Virtual Panel should appear as an active client in the Gateway Editor > Active Clients screen.
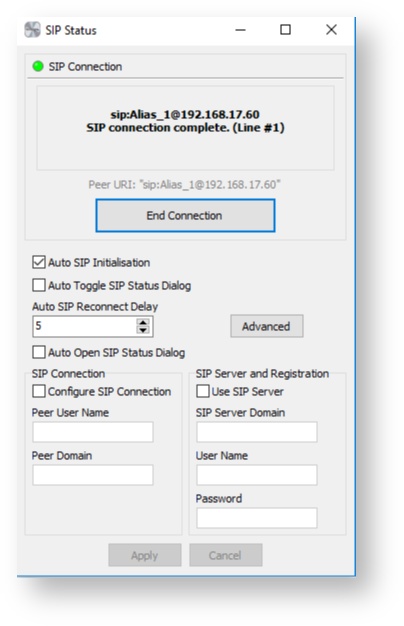
On the Virtual Panel, click on gear symbol in the top left-hand corner to open the settings menu, select the SIP status option.
Click the ‘Advanced’ button.
Then configure the Audio Devices and Network Interface to match the PC settings being used.

Select ‘OK’ to accept the changes.
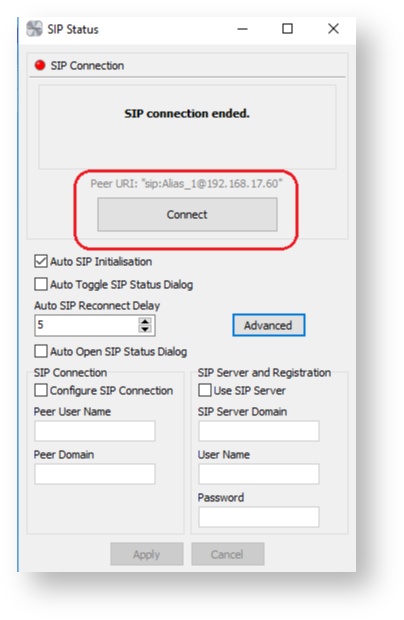
Click on the ‘Connect’ button to re-connect the Virtual Panel to the SIP connection.
The Virtual Panel should now be configured and be able to communicate with panels and 4 wires on the Mercury Interface Unit or the Gemini host.
Related articles
Copyright, Trilogy Communications.
---------------
The information on this page is owned by Clear-Com and constitutes Clear-Com’s confidential and proprietary information, may be used solely for purposes related to the furtherance of Clear-Com’ business and shall not be disclosed, distributed, copied or disseminated without Clear-Com’s prior written consent.