How do I transfer the Gateway editor onto a new server PC?
This step by step guide can be used if you wish to migrate the Gateway Editor and Database Supervisor to a new server PC.
Step-by-step guide
Before commencing deploying the new server PC, browse to each Gemini host and check the status page and ensure each host is not showing any errors. If you have Mercury or Messenger hosts then remote desktop to each of these and check the status page of the TBC GUI.
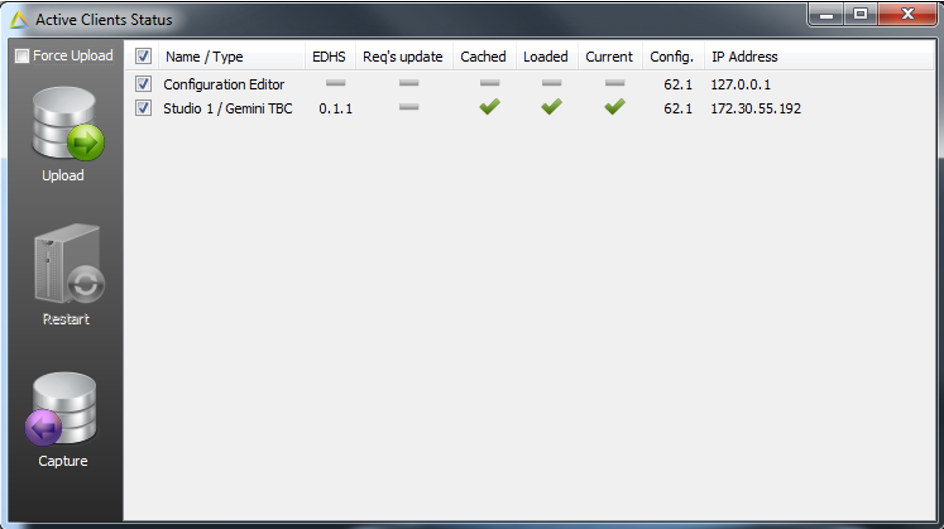
Open the ‘Active Clients’ screen on the Gateway Editor and ensure all the hosts are reported on the screen. If all is okay proceed to step one.
If you wish to migrate the Trilogy Gateway Editor and Database Supervisor software to a new server PC you will first need the following three items from the current server PC:
- The latest *.trilogy configuration file.
- The Gateway Editor Key code. This is on the inside cover of the Installation CD supplied with the system. Alternatively, you can note it from Help > About > Licence Keys in your current (old) installation.
- The Trilogy software installation file 'TrilogyV5Setup.exe' for currently installed version on the system. The installation software is in the C:\Trilogy\Installation Files folder on the PC currently operating as the server. Check the Help>About screen of the Gateway editor to confirm the versions match. If the installer version is different contact Trilogy support for the matching install version.
- To install the Gateway editor on the new server PC first copy the 'TrilogyV5Setup.exe' from the installer currently running on the system. Launch the TrilogyV5Setup file.

Choose next to continue, on the first screen choose ‘Installation’.

On the ‘Quick or Customised Upgrade’ screen choose ‘Customised’. On the ‘Selected components’ choose ‘Configuration Editor’, ‘Database Supervisor’ and ‘Gemini Software’ only. The only exception is if you are using the Virtual Panel or USB box options, in which case check these options also. Do not install components which are not appropriate to your system – these will consume resources and degrade the performance of your PC.
 Click next through the remaining screens to complete the install
2. Once installed, launch the Gateway Editor and enter the key code supplied with the system when prompted. The Gateway Editor Operator Login is Operator: Admin Password: trilogy.
3. If the new server is not assigned the same IP address as the server being retired then each of the Gemini host will need to be told the IP address of the new server. This can be set from either the Gemini Front panel or via the browser:
From the front panel > Admin > System screen: enter the new server IP address in the ‘DB Server’ entry. To apply the change touch the ‘Reboot Required’ flashing message at the top of the screen, the Gemini will now reboot to action the change.
Please note: To be able to edit this address you need to first log in on the Front Panel > Admin > Log In screen, the default password is ‘trilogy’.

From the browser > Admin > Settings > System Settings screen: enter the new server IP address in the ‘DB Server Location’. Click ‘Apply’ to action the change.
The Admin > Settings page requires a log in password, the default password is ‘trilogy’.

4. Once the editor is running load the *.trilogy configuration file. Next open the Active Clients screen to check the new server can see all Gemini/MIU hosts in the system.
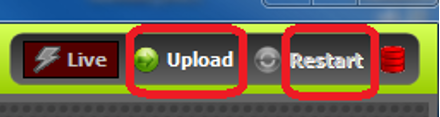
5. Finally click upload/restart to upload the *.trilogy file to the hosts and restart the configuration file on the system.
Related articles
Copyright, Trilogy Communications.
---------------
The information on this page is owned by Clear-Com and constitutes Clear-Com’s confidential and proprietary information, may be used solely for purposes related to the furtherance of Clear-Com’ business and shall not be disclosed, distributed, copied or disseminated without Clear-Com’s prior written consent.